Sync Your First Field
Push WordPress data to Google Business Profile in 5 minutes
Sync your WordPress data to Google Business Profile. This guide assumes you have the prerequisites in place.
Prerequisites
Before you begin, ensure you have:
- Verified Google location — Verification Guide
- API key created — API Keys Guide
- WordPress plugin installed & connected — Plugin Installation
Don't have these set up? Complete the prerequisites first, then return here.
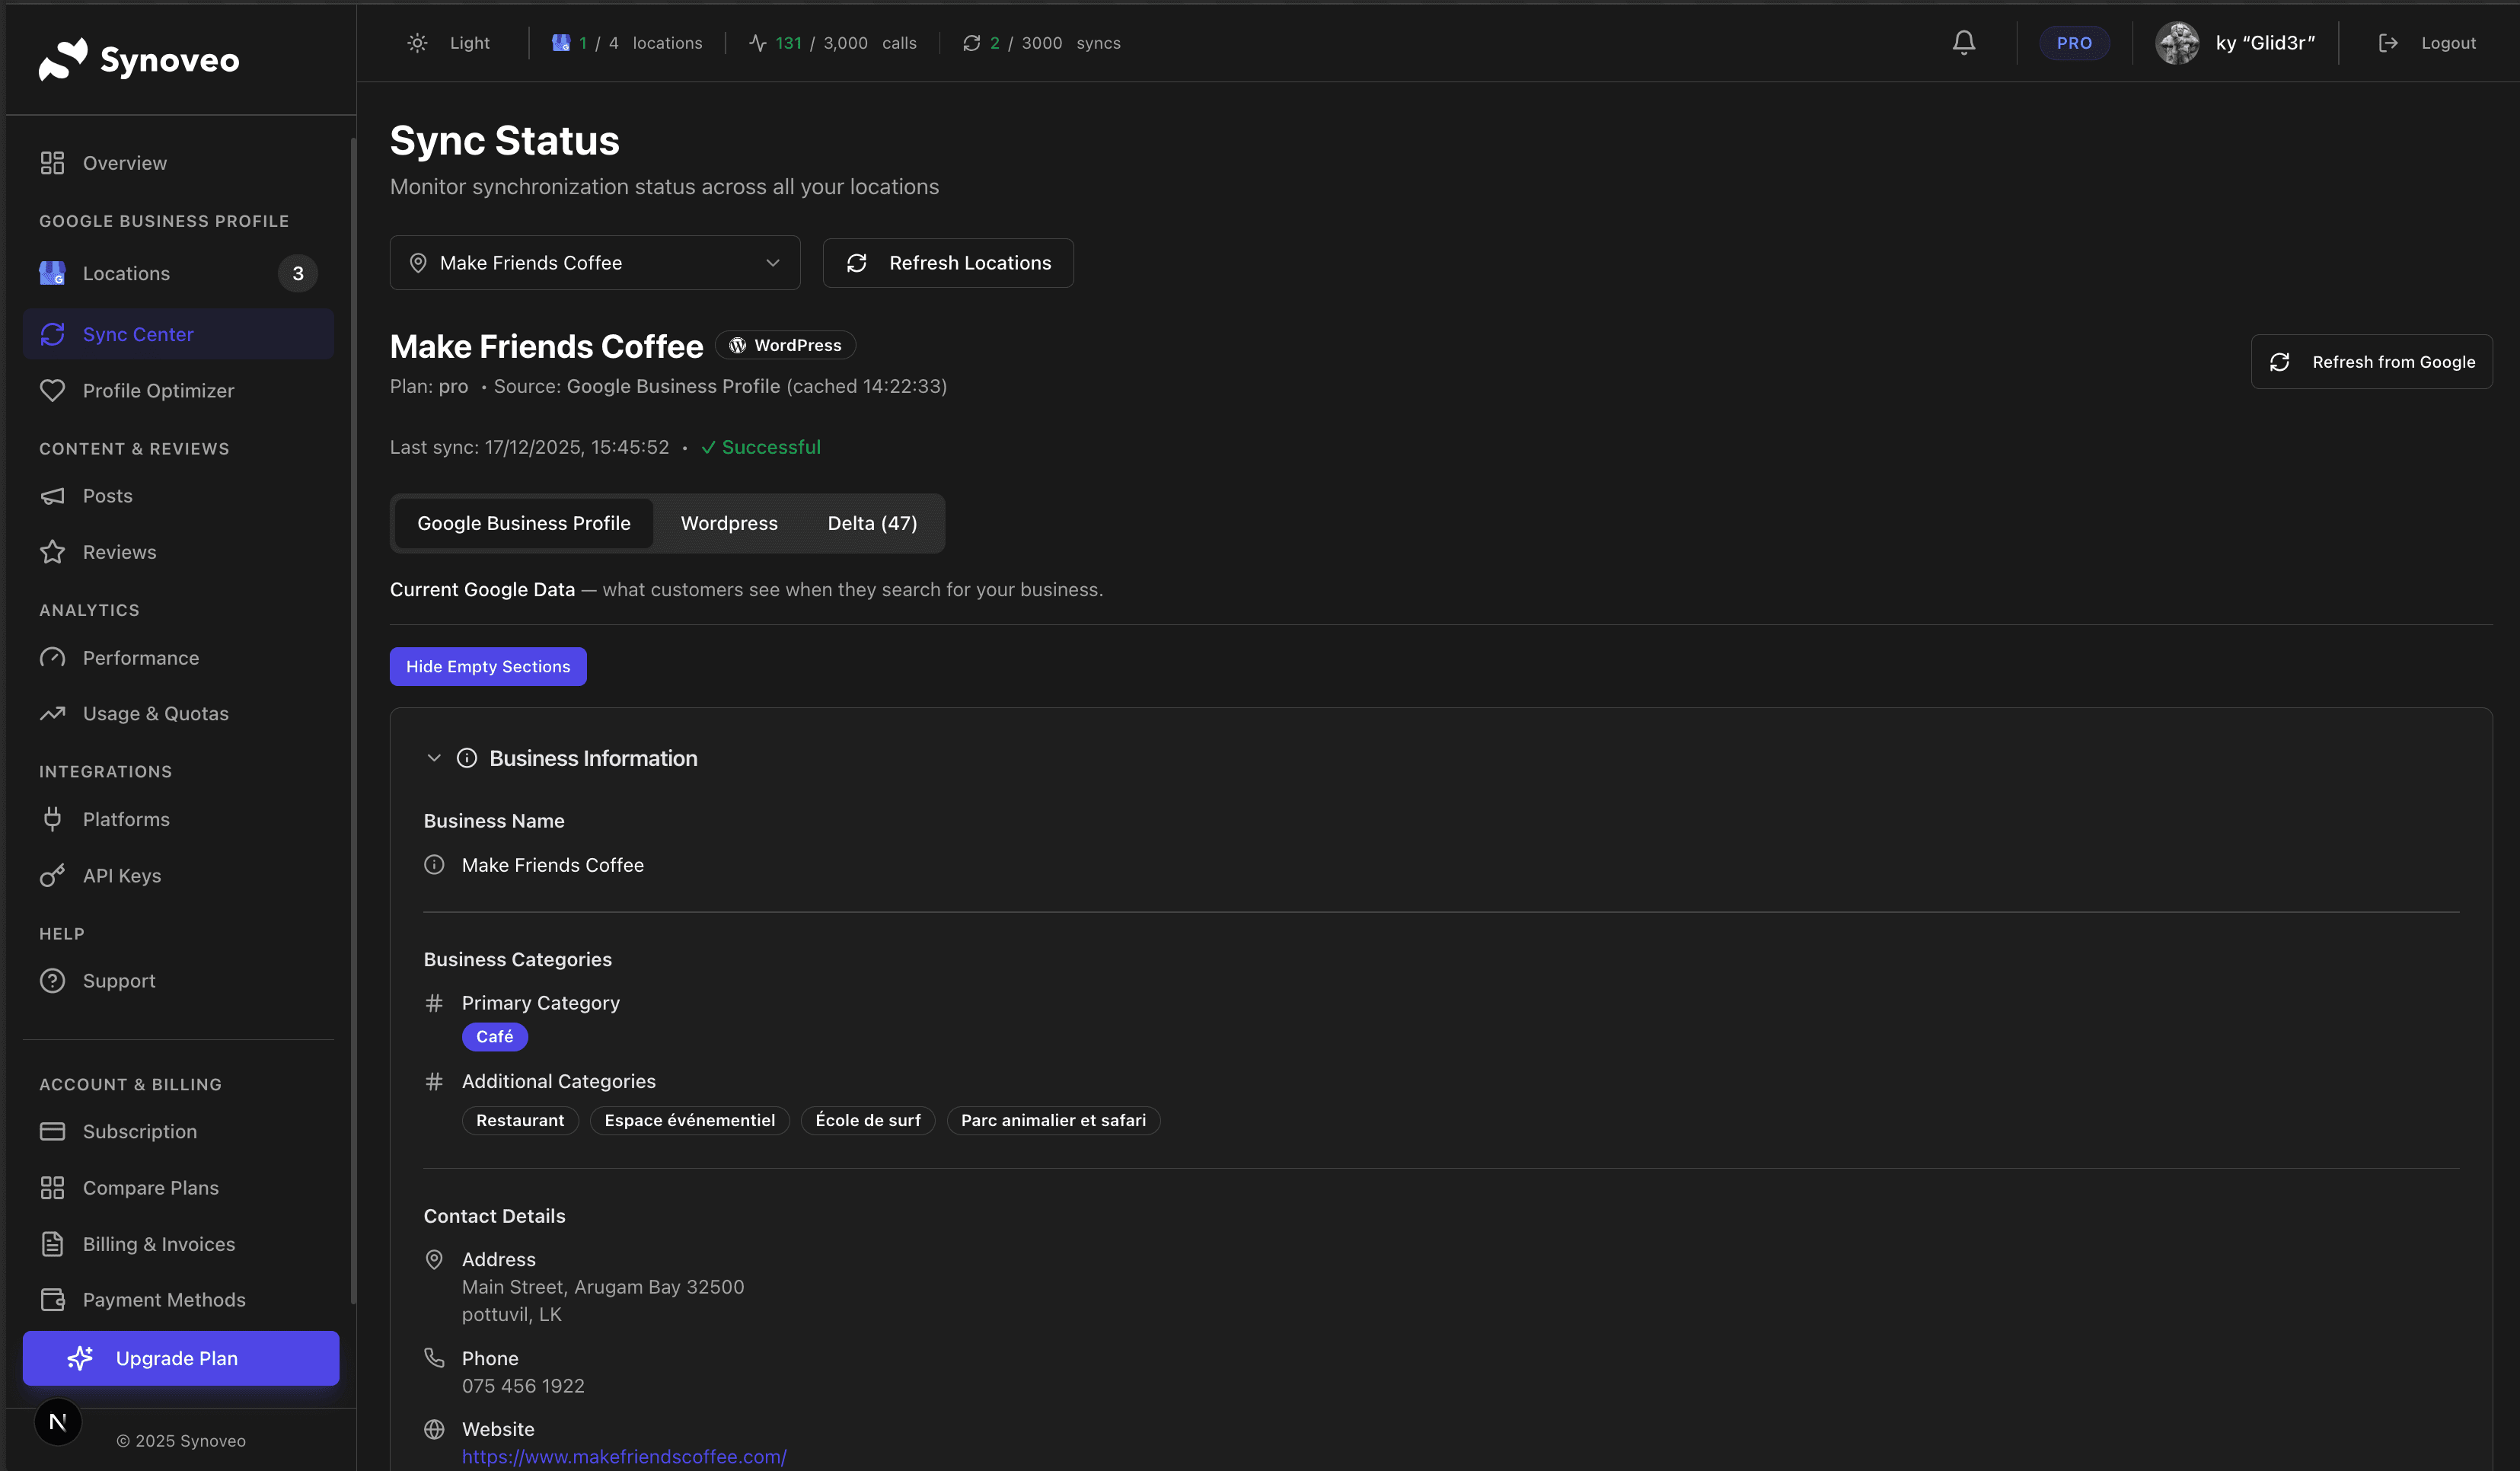
Step 1: Open Sync Center
Navigate to Sync Center
Go to Sync Center in the dashboard sidebar.
Step 2: Configure a Field Source
Open the Source Tab
Click the WordPress tab (or your platform name) to see the field configurator.
Find a Field to Configure
Expand a category (e.g., Basic Business Information) and find "Business Name".
Select the Source
Click the dropdown next to "Business Name" and select where this data comes from:
- Yoast SEO → Site Title
- WooCommerce → Store Name
- WordPress → Site Title
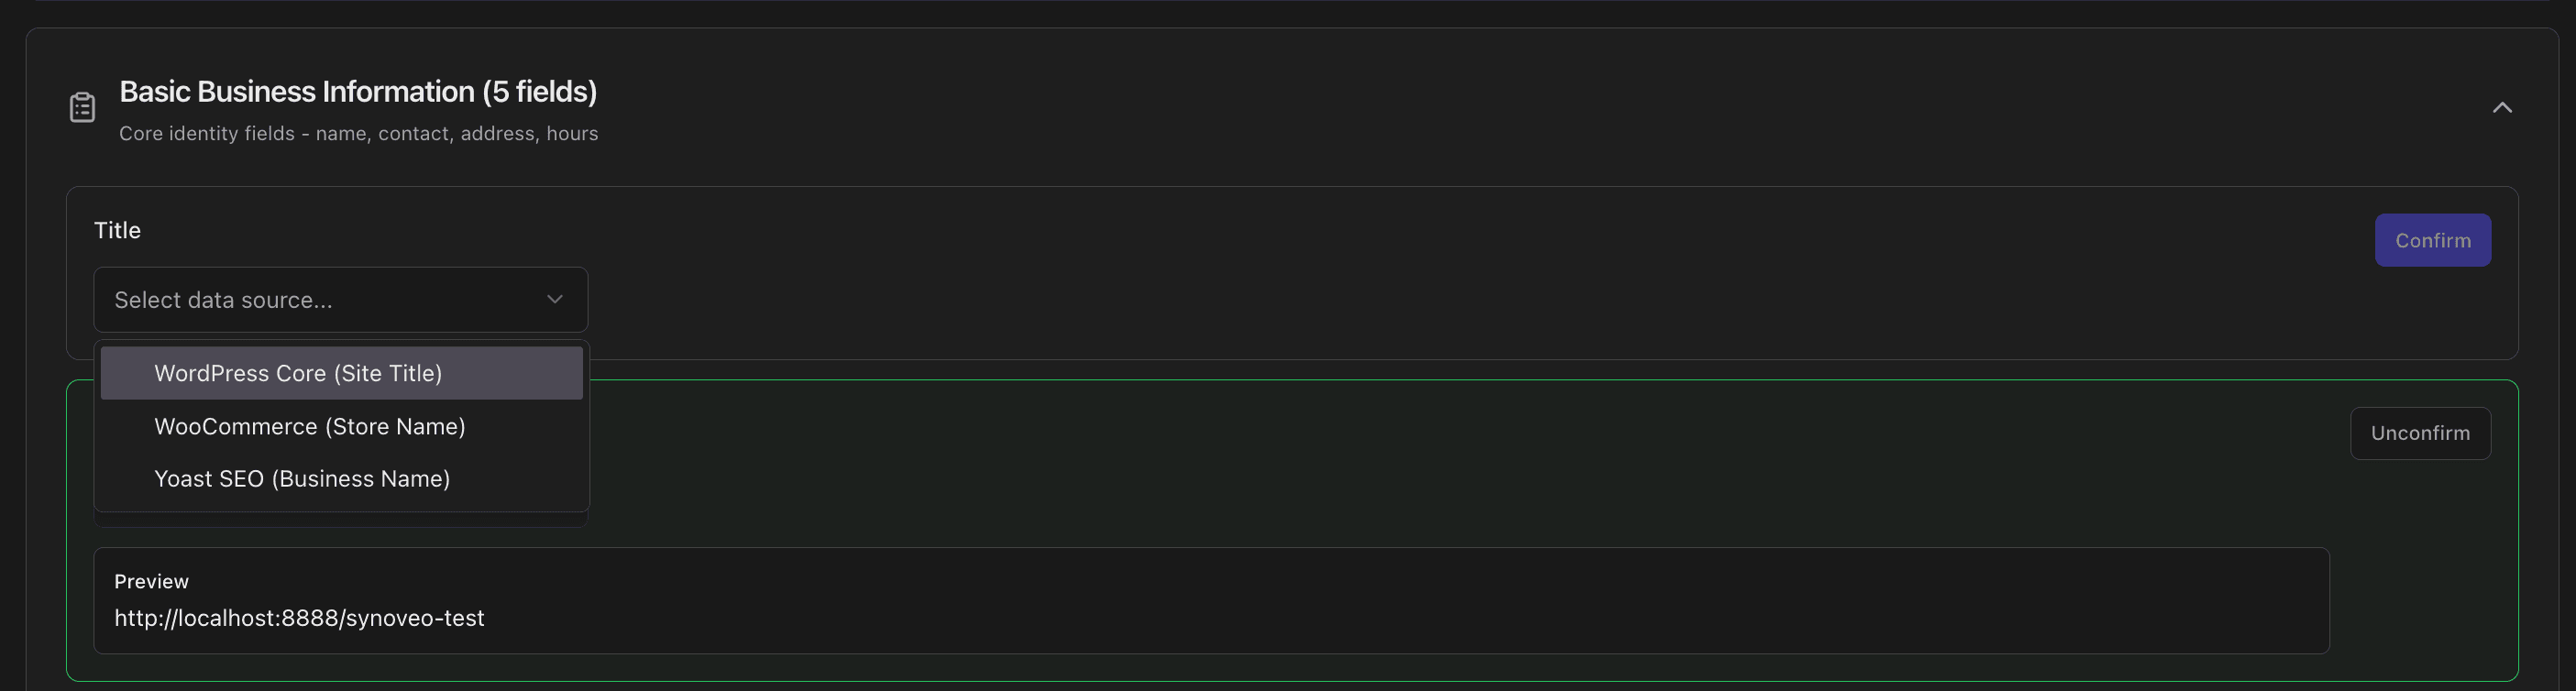
Confirm Your Selection
Click Confirm to save this mapping.
Step 3: Review & Sync
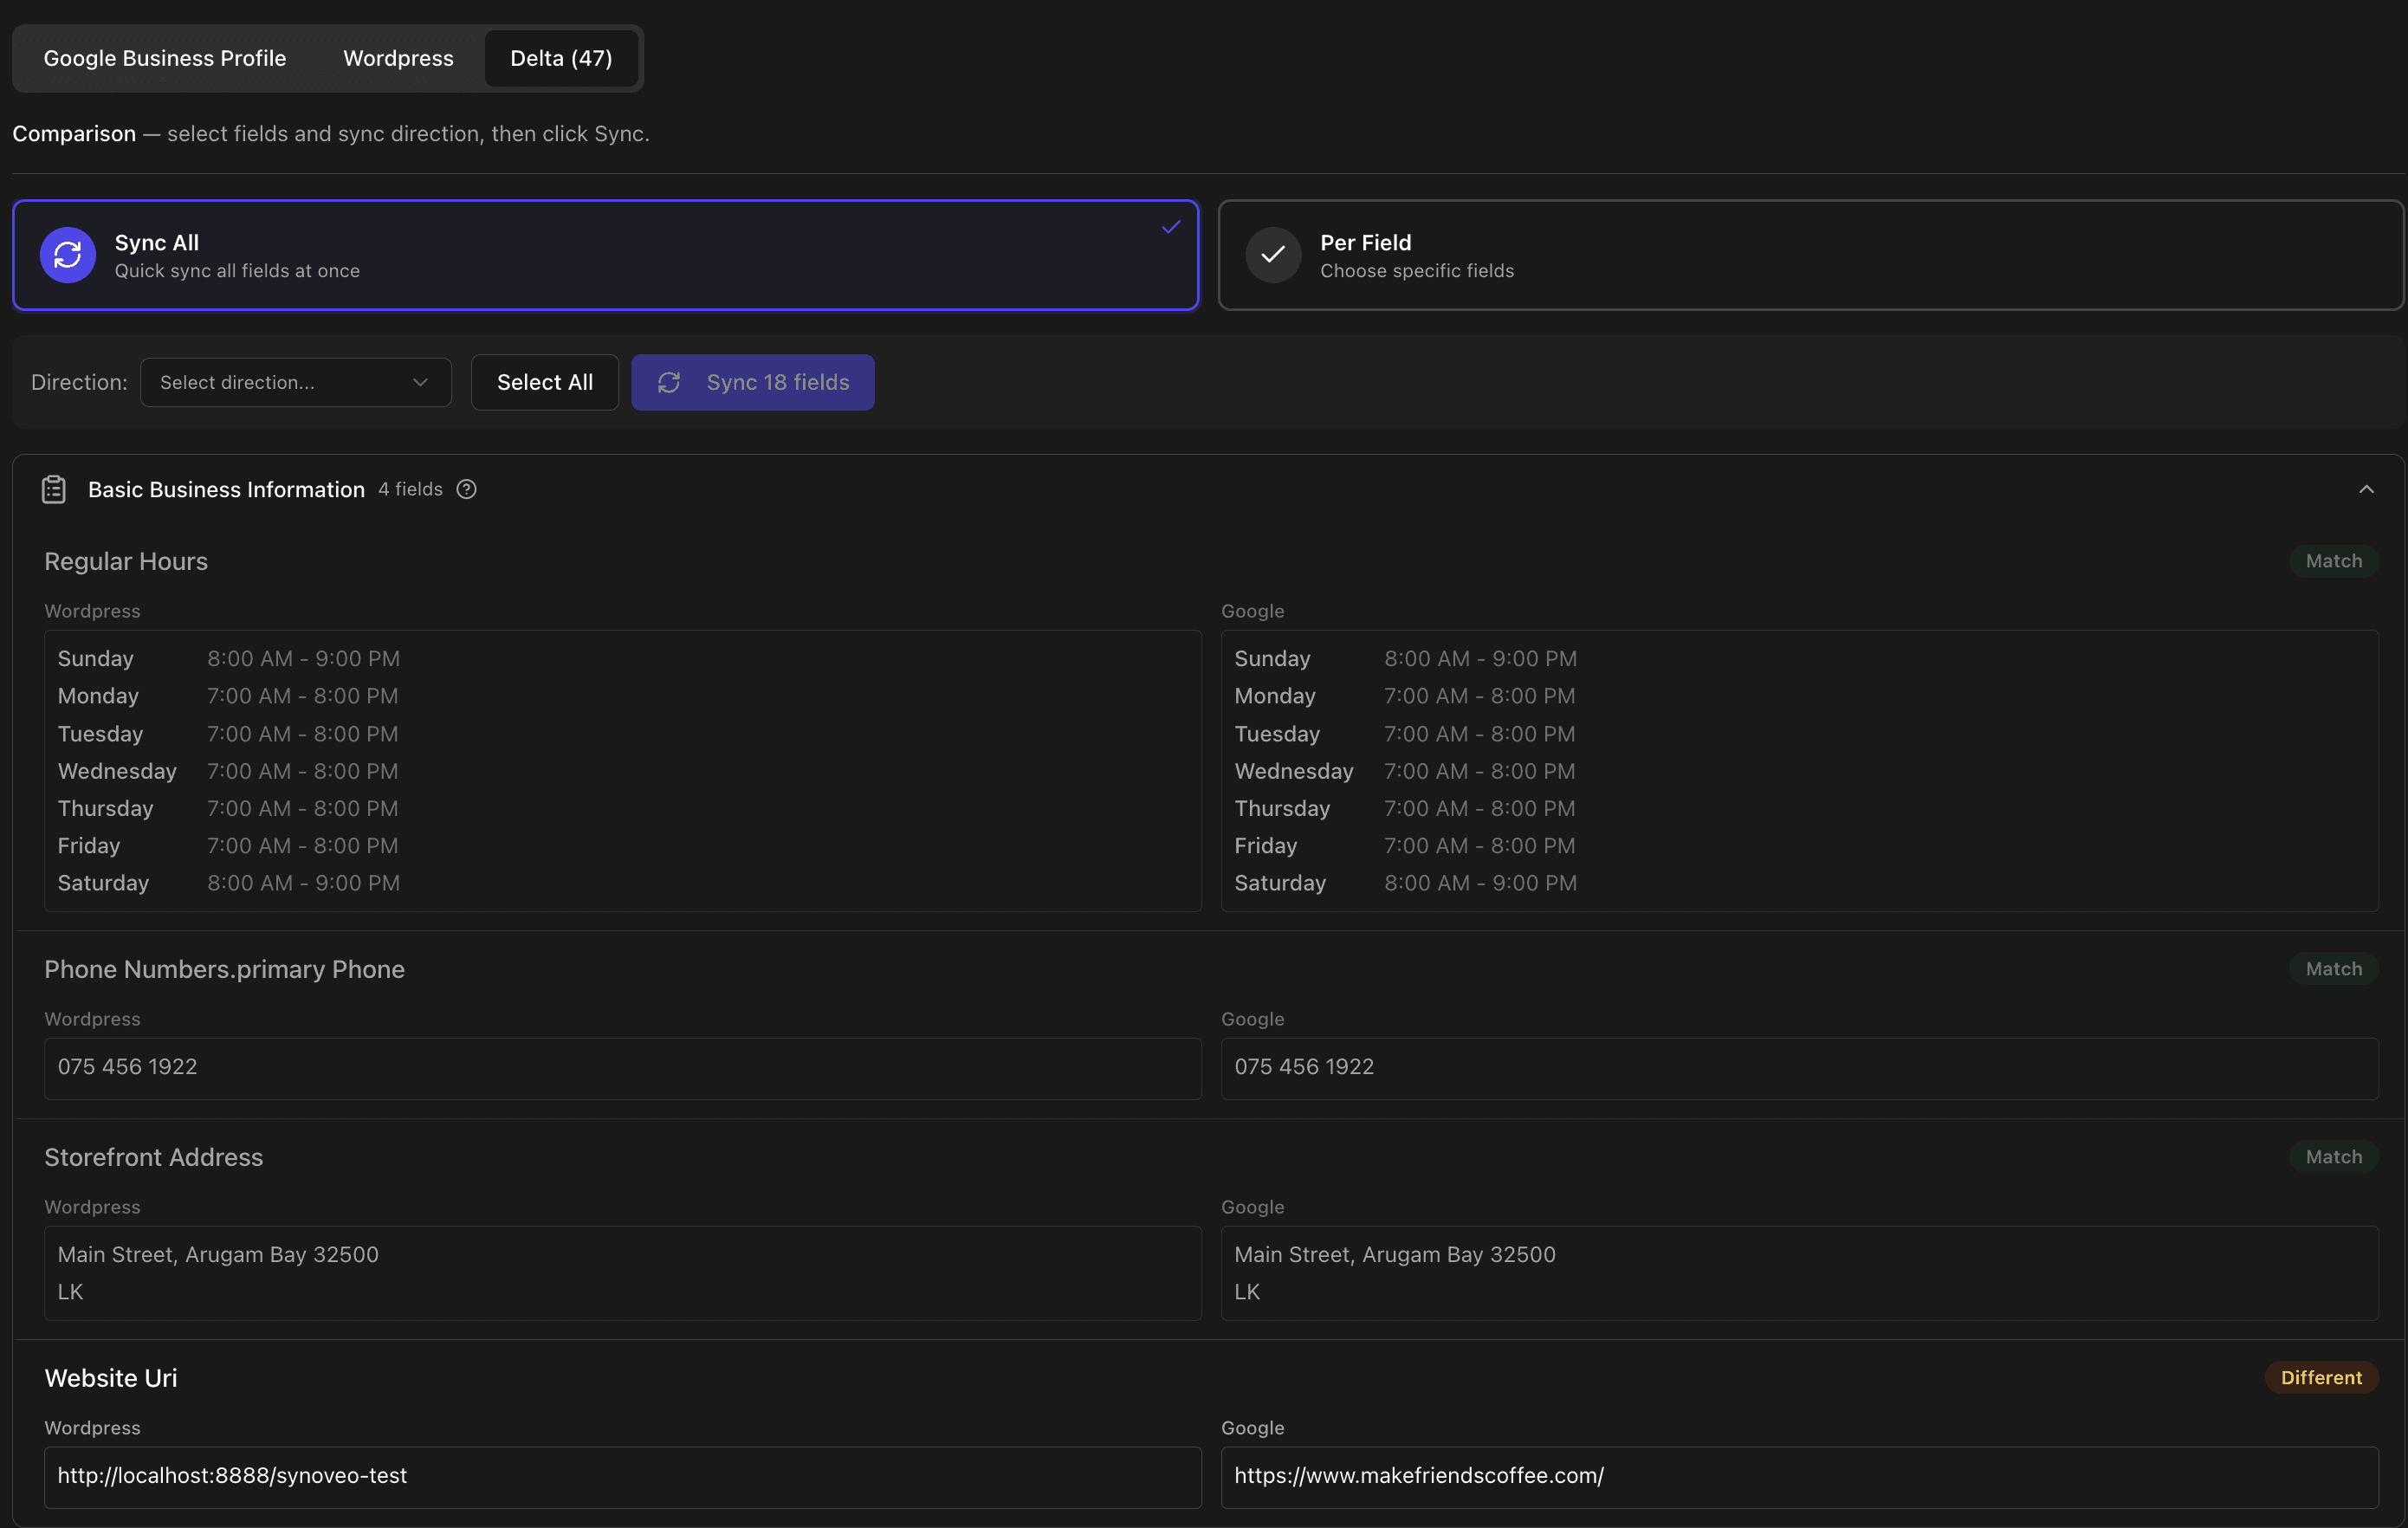
Choose Sync Mode
Select one of the two sync modes:
| Mode | Description | Best For |
|---|---|---|
| Sync All | Quick sync all fields at once | Initial setup, bulk updates |
| Per Field | Choose specific fields to sync | Selective updates, testing |
Select Sync Direction
Choose which direction to sync:
| Direction | Action |
|---|---|
| WordPress → Google | Push your WordPress data to Google (most common) |
| Google → WordPress | Pull Google data back to WordPress |
Confirm and Sync
Click Sync and review the confirmation dialog showing selected fields and direction.
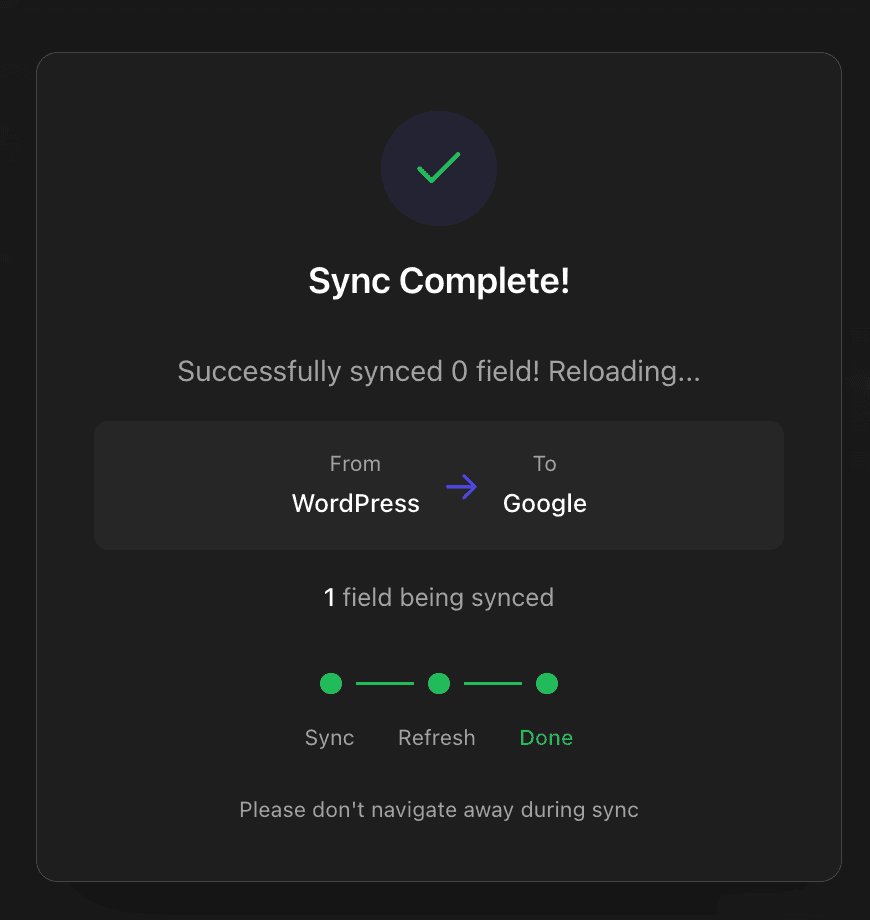
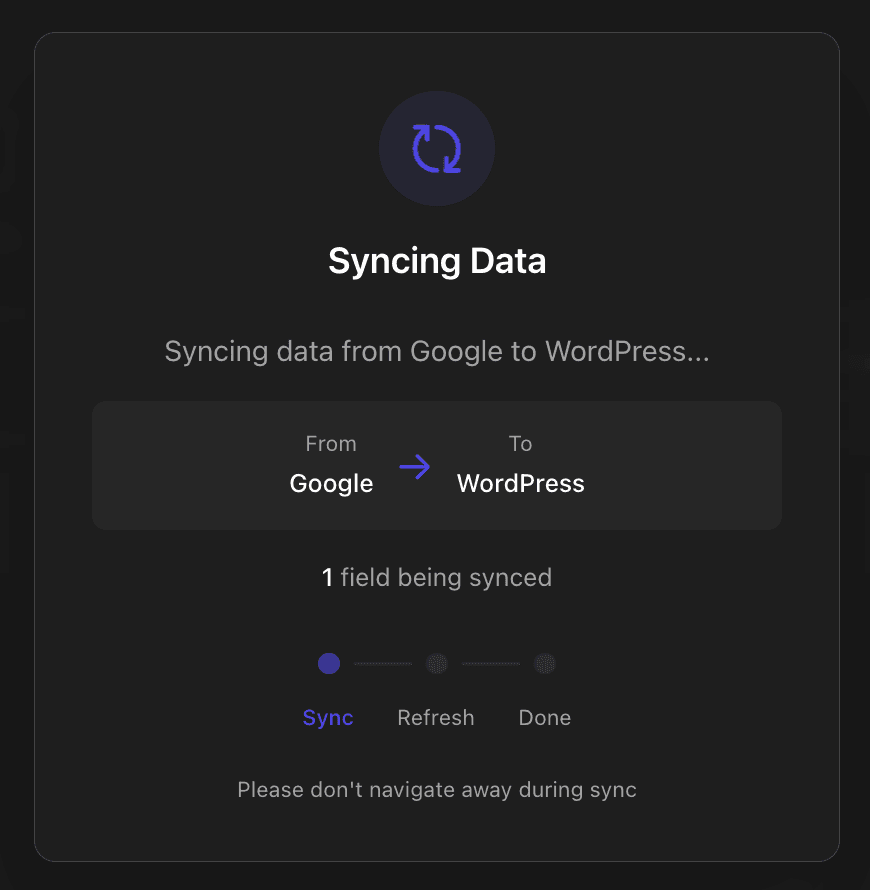
Done!
Your data is now synced to Google Business Profile. Changes typically appear within 1-2 minutes.
Next steps: Configure more fields in the Source tab, then sync them using the Delta tab.